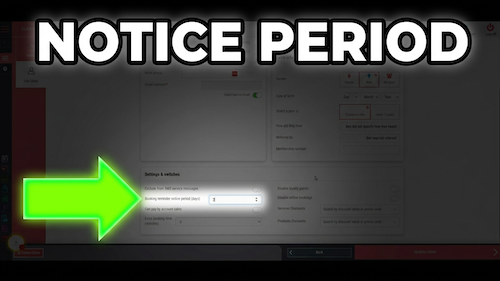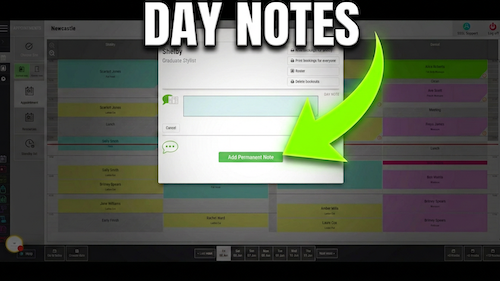
Video walkthrough: setting up a team member’s roster in Salon Manager.
Quick answer
Set the start date, hours and working days
Open roster settings, select the team member, set the roster start date, working hours and working days, then select Confirm and Save.
Before you start
Have these details ready
Access to roster settings
The team member to roster
The working days and start and finish times
Permission to update diary or roster settings
Step-by-step instructions
How to set up a team member’s roster
Follow these steps to control the team member’s availability and any rotating shift pattern.
Useful tips
Check the start date and shift pattern carefully
Check the roster start date carefully before saving.
Use additional shift weeks when the team member works a rotating pattern.
Check the diary after saving to confirm availability appears correctly.
Troubleshooting
Common issues and what to check
Frequently asked questions
Team roster questions
Can I set different working days for a team member?
Yes. Use the day sliders to choose which days the team member works.
Can I set different start and finish times?
Yes. Enter the start times on the left and finish times on the right.
Can I create rotating shifts?
Yes. Use Add Another Week to Shift for additional shift patterns.
Offline reference
Download this guide as a PDF
Keep a printable copy for diary administrators or use it during staff training.
Last reviewed: 16 June 2026.